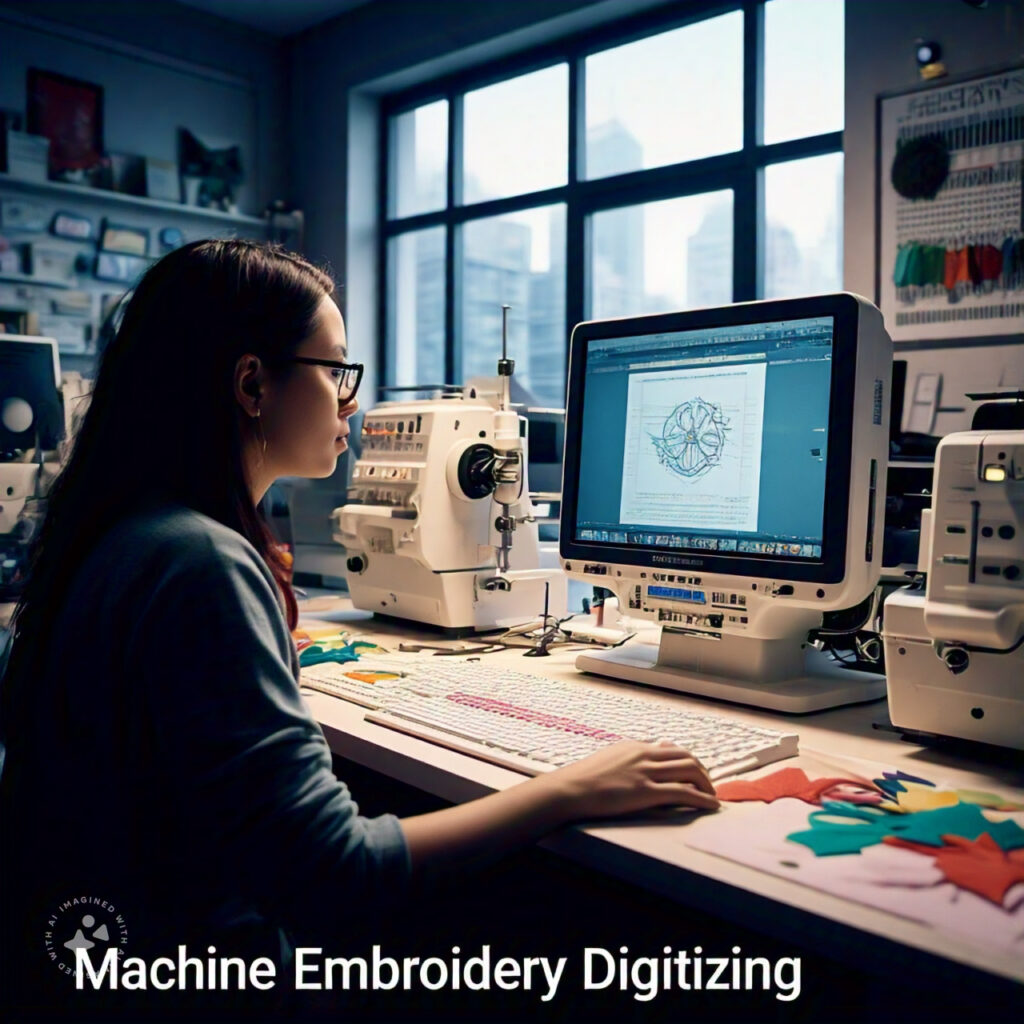
Machine embroidery digitizing is the secret to creating professional-quality designs. This guide unpacks everything you need to know from essential tools to expert tips to help you master this valuable skill. Whether you’re a seasoned pro or just starting, elevate your embroidery projects confidently.
Machine embroidery digitizing is essential for creating intricate and custom designs with precision. It involves converting images or artwork into stitch files that an embroidery machine can read. Mastering this art opens doors to unlimited creativity and professional growth for professionals.
Whether you are new to the process or looking to refine your skills, this guide covers the tools, techniques, and tips for excelling in machine embroidery digitizing.
What is Machine Embroidery Digitizing?
Machine embroidery digitizing translates a design into a format that an embroidery machine can interpret. It’s not just about pressing a button and letting the machine work; it’s a blend of technical knowledge and artistic vision.
This process requires a deep understanding of stitches, fabric types, and the nuances of embroidery machines. With practice and the right tools, you can transform simple designs into works of art.
Why is Digitizing Important for Professionals?
Digitizing sets professional embroiderers apart from hobbyists. It allows for greater customization, efficiency, and precision in creating designs. By mastering digitizing, you gain complete control over the outcome of your embroidery projects.
Digitizing proficiency is also a valuable skill in the commercial embroidery industry. Businesses often seek professionals who can efficiently deliver high-quality, customized products. Thus, digitizing proficiency enhances one’s value as an embroidery expert.
Essential Tools for Machine Embroidery Digitizing
1. Digitizing Software
The cornerstone of digitizing is the software. Popular options like Wilcom, Hatch Embroidery, and Brother PE-Design offer features tailored for professional use. These programs allow you to edit designs, adjust stitch types, and create intricate patterns.
When choosing software, ensure it matches your skill level and offers scalability as you grow. Look for tools with tutorials and active support communities for seamless learning.
2. A Reliable Computer and Embroidery Machine
Your computer should meet the system requirements of your digitizing software. A fast processor, ample RAM, and a high-resolution monitor are essential for handling complex designs.
Similarly, an embroidery machine that supports various file formats and advanced features can make digitizing more efficient. Choose a model compatible with your software for smoother operation.
Key Steps in the Digitizing Process
1. Prepare Your Design
Start by selecting or creating the artwork you want to digitize. Clean, simple designs work best, especially for intricate embroidery projects. Ensure your design is high-resolution to capture details accurately.
Next, import the design into your software. This step involves resizing and adjusting the image to suit your embroidery machine’s capabilities and the fabric type.
2. Assign Stitch Types
Stitch types are crucial in defining the texture and appearance of your design. Satin stitches are ideal for smooth, curved elements, while fill stitches work well for larger areas.
Test different stitch types to achieve the desired look. Preview your design in the software to ensure the stitches align correctly before sending it to the machine.
Tips for Successful Digitizing
1. Understand Fabric Behavior
Different fabrics react differently to stitches. For example, stretchy fabrics may require stabilizers to prevent distortion, while delicate fabrics need lighter stitch densities.
Test your designs on scrap fabric to observe how they behave. This practice saves time and ensures flawless results in the final product.
2. Master Stitch Density and Pull Compensation
Stitch density affects the coverage and quality of your design. Too dense, and the fabric may pucker; too light, and the design might look incomplete.
Pull compensation adjusts for fabric movement during stitching. Learning to balance these factors is critical for professional-grade embroidery.
Common Challenges in Machine Embroidery Digitizing
1. Misaligned Stitches
Stitches may sometimes shift during embroidery, especially on stretchy or slippery fabrics. Using stabilizers and adjusting pull compensation can solve this issue.
2. Thread Breakage
Thread-breaking mid-design is frustrating. Ensure your machine is clean, the thread tension is correct, and you’re using quality threads compatible with your machine.
How to Stay Ahead in the Industry
1. Keep Learning
The embroidery industry constantly evolves with new trends, techniques, and technologies. Invest in online courses, attend workshops, and stay active in embroidery forums to keep your skills sharp. Learn the importance of designs.
2. Build a Portfolio
Showcase your digitizing skills with a professional portfolio. Include a variety of designs to highlight your versatility and creativity. A strong portfolio can attract clients and open up more opportunities.
Conclusion
Machine embroidery digitizing is both an art and a science. For professionals, it’s a gateway to creating stunning, high-quality designs that stand out. You can elevate your craft and grow your business by mastering the tools, techniques, and nuances of digitizing.
Start with the basics, refine your skills through practice, and embrace the challenges. You’ll become a trusted name in the embroidery industry with dedication and the right resources.

